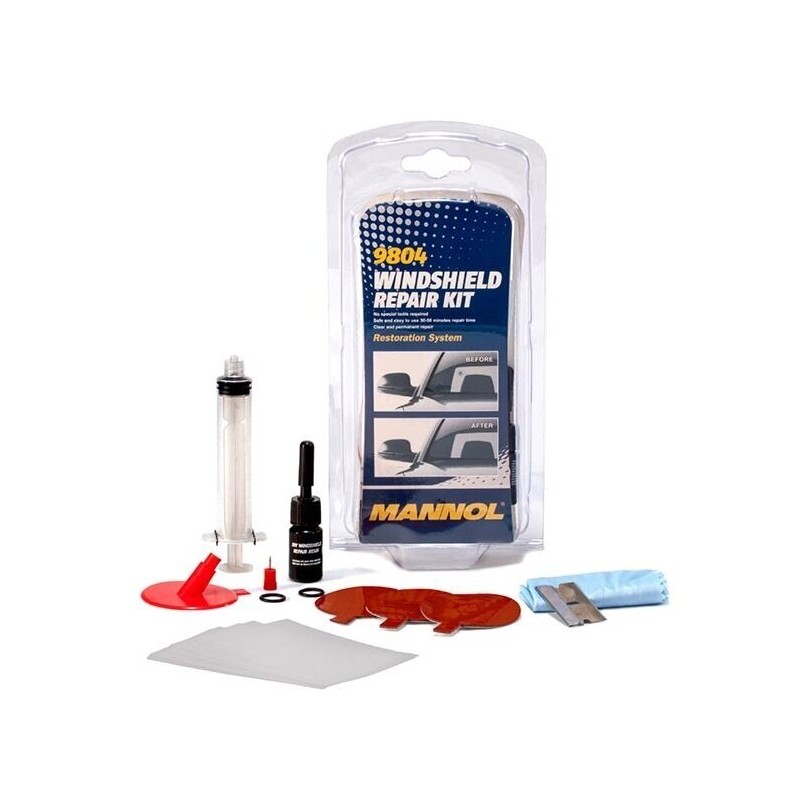

Glass repair kit - a professional kit for restoring windshields. Unlike other similar products, it does not require ultraviolet rays. The principle of the kit is to remove air from cracks and chips, fill them with strong resin, so the treated glass area becomes even stronger than before. To achieve the best results, this procedure should be performed only after the damage/crack is visible. Before the chipped or cracked area becomes dirty.
Features:
- Reduces the risk of cracks after a hole or chip appears on the windshield and prevents them from spreading/expanding further;
- High-quality, ultra-low viscosity repair resin reliably fills even the smallest cracks;
- Allows you to restore the windshield in 30-50 minutes.
Application:
1. Clean the damaged windshield from dust and dirt with a cleaning cloth. For best results, it is recommended to degrease the glass surface around the repair area (we recommend using 9692 MANNOL Brake Cleaner).
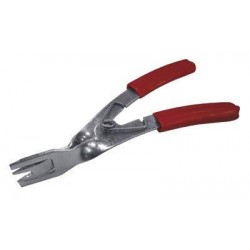
2. Use the special red tool to remove glass shards from the damaged area.
3. Insert the adhesive disc/packet so that the damaged area is in its center.
4. Place the black sealing O-ring on the edges of the adhesive disc hole. The black sealing O-rings can be used several times.
5. Glue the red mushroom-shaped base on top of the adhesive disc and add 2 - 6 drops of repair resin from the tube, depending on the degree of damage - the larger and longer the crack - the more resin is needed. Fill all these cracks.
6. Insert the syringe into the red base of the tool, the syringe must be pressed all the way down. Then pull the syringe plunger as far as possible to create a vacuum. Wait 10 minutes. Remove the syringe. Push the plunger back in and place the syringe on the base, then pull the plunger out as far as possible and wait another 10 minutes.
7. Remove the syringe, red tool base, black O-ring and adhesive disc. If necessary, clean the glass from the adhesive disc with a scraper. Apply repair resin to any remaining damage and cracks. Cover the damaged area with the repair resin applied with a thermal plate. Smooth the thermoplastic with a scraper and cleaning cloth so that it adheres tightly to the glass and there are no air bubbles under it. Remove excess resin from the edges of the thermoplastic with a cleaning cloth. Wait 15 minutes.
8. Remove the thermal plate or scrape it off with a scraper. Also, carefully scrape off the dried repair resin from the glass.
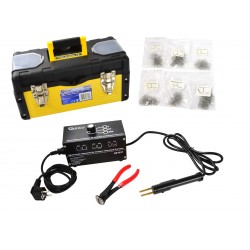
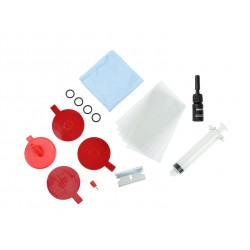
The kit includes:
- Repair resin - 1 pc.
- Adhesive disc - 3 pcs.
- Red tool (mushroom-shaped) - 1 pc.
- Thermoplastics - 5 pcs.
- Scraper with blade - 1 pc.
- Syringe with spring clip - 1 pc.
- Cleaning cloth - 1 pc.
- Red button - 1 pc.
- Black O-ring - 2 pcs